First cut a strip of neutral cardstock 3/8" wide.
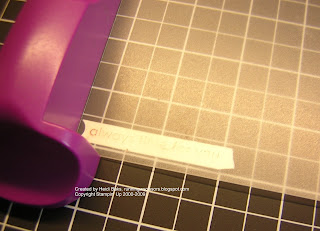 Tack down the strip of cardstock with a small amount of adhesive, so it doesn't slide around. Then using the Stamp-a-ma-jig, first stamp on the plastic image layer and place the image layer, over the cardstock, where you want the sentiment to be centered.
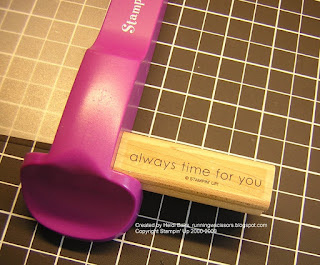 Removing the plastic image layer, without moving the stamp positioner, stamp on the cardstock strip.
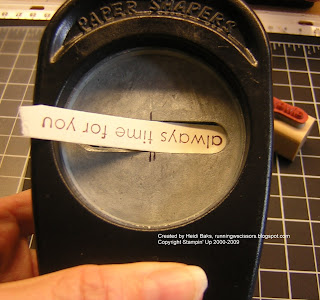 Now your sentiment is ready to be punched. Slide the sentiment in from the bottom of the punch - slide only one side of the sentiment between the top and bottom of the punching mechanism while leaving the other end is sticking out - and punch.
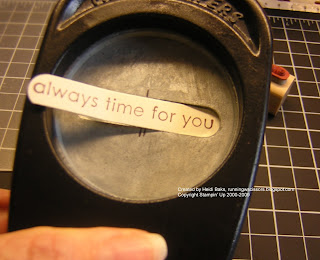 Do the same with the other side.
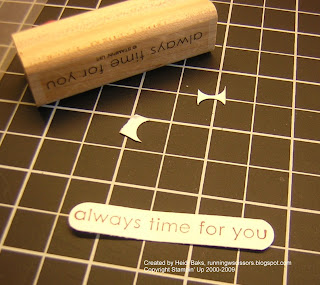 And here is what the finished sentiment looks like. I used this sentiment on my NJ card front swap here. You can try this trick with any of your punches to make a larger shape than originally designed.
Hope you find this technique useful. Thanks for stopping by!
No comments:
Post a Comment